")
")
Assembly instruction for foldable RIB Amigo 315F
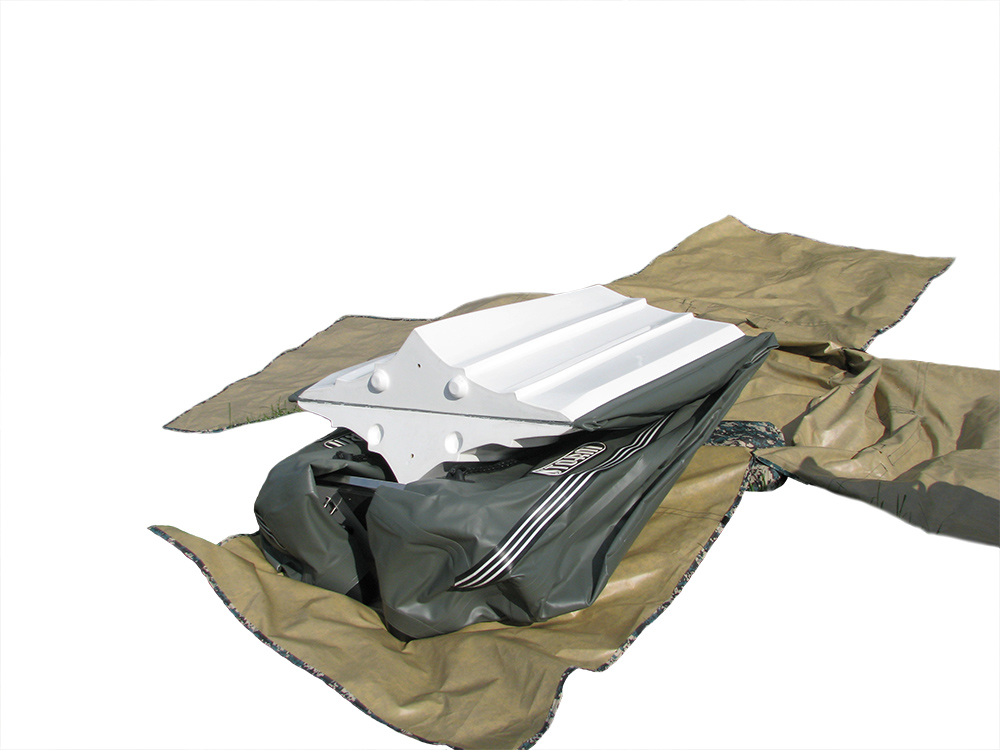
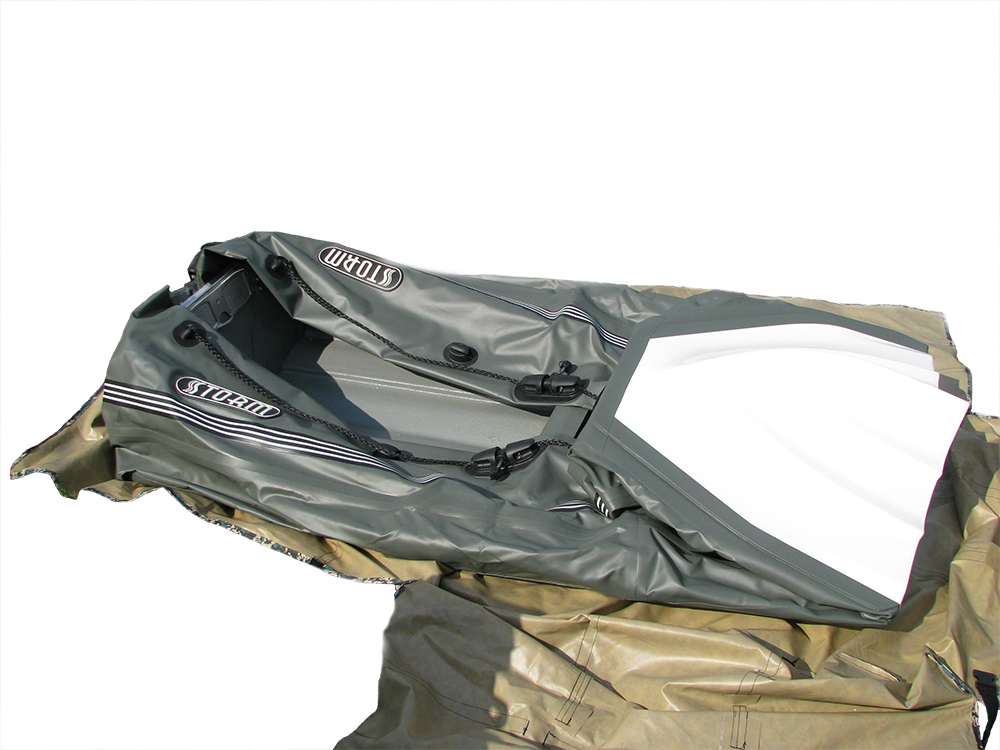
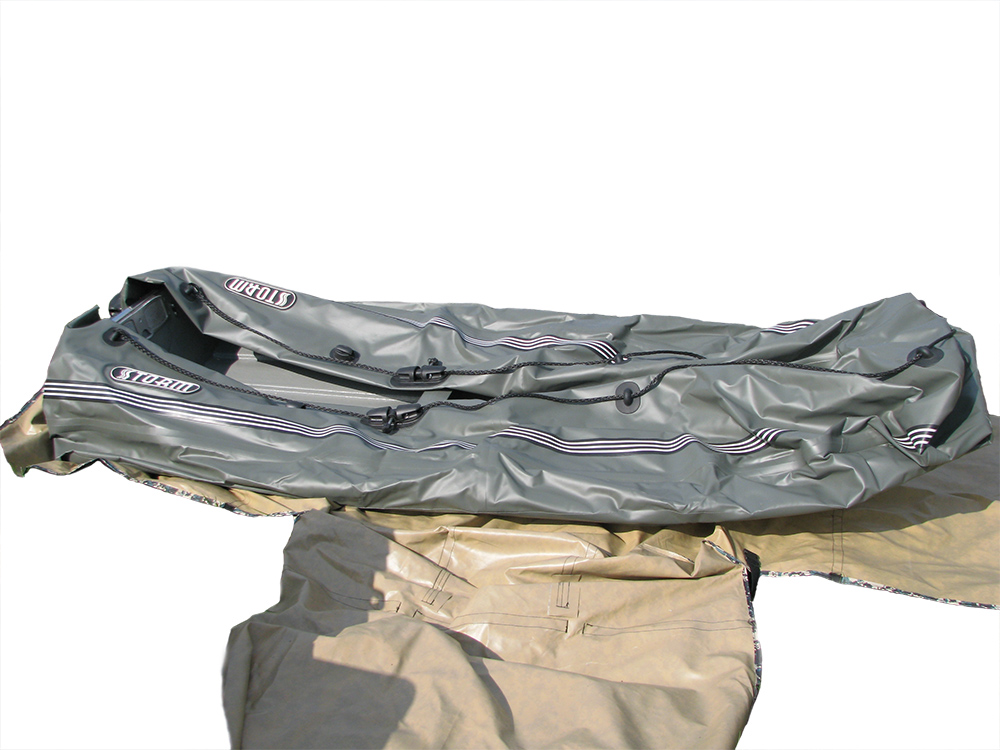
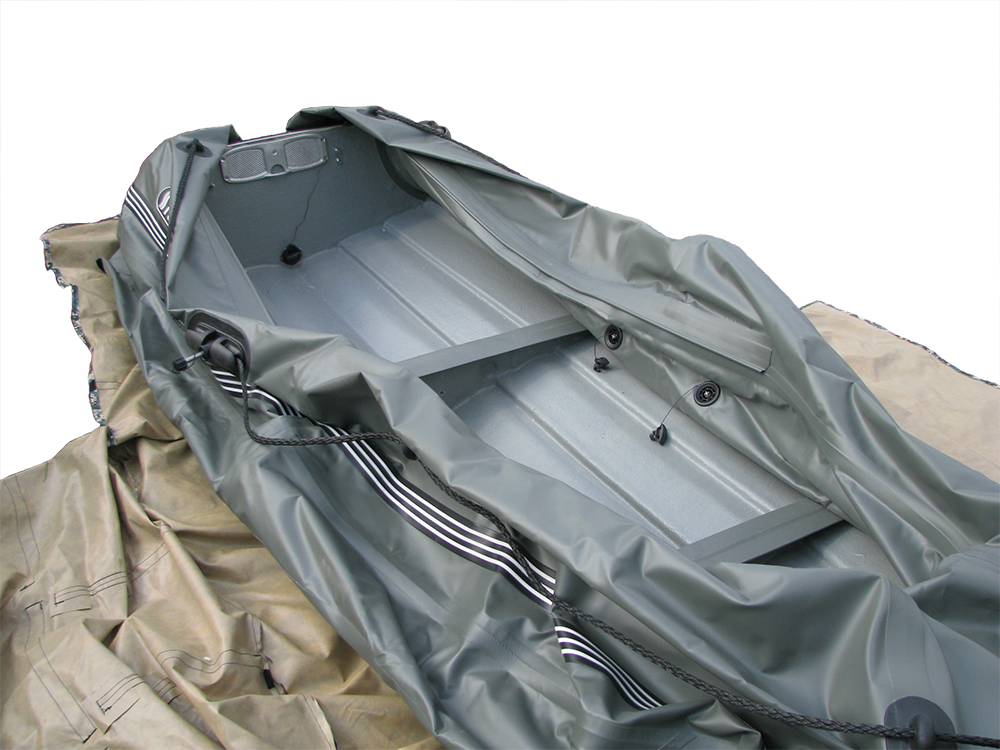
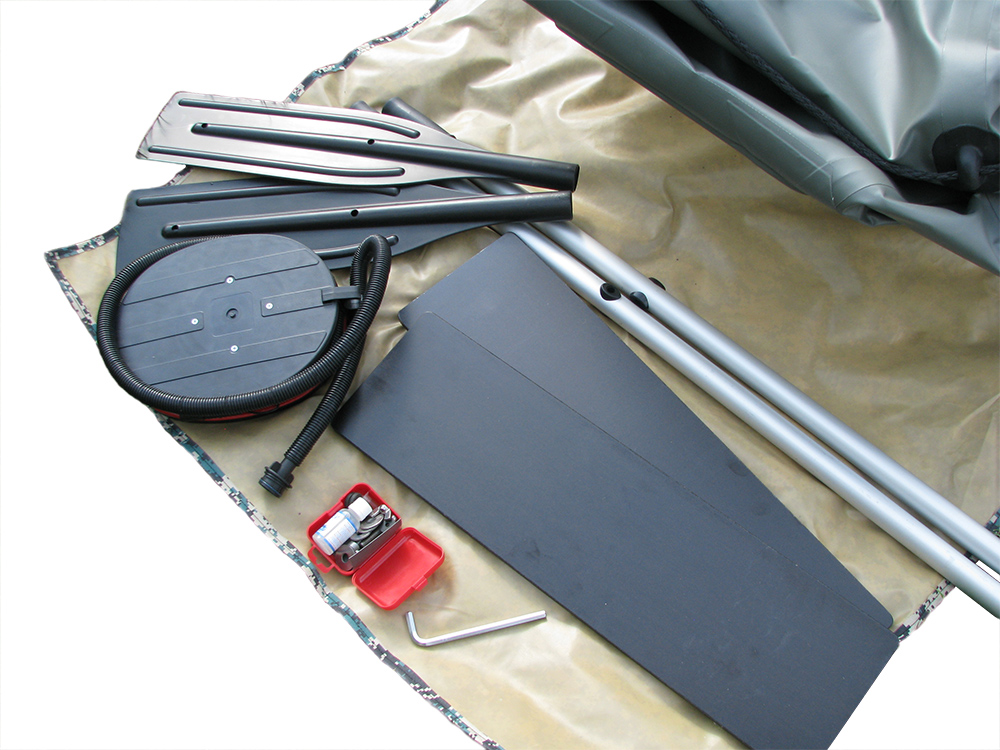
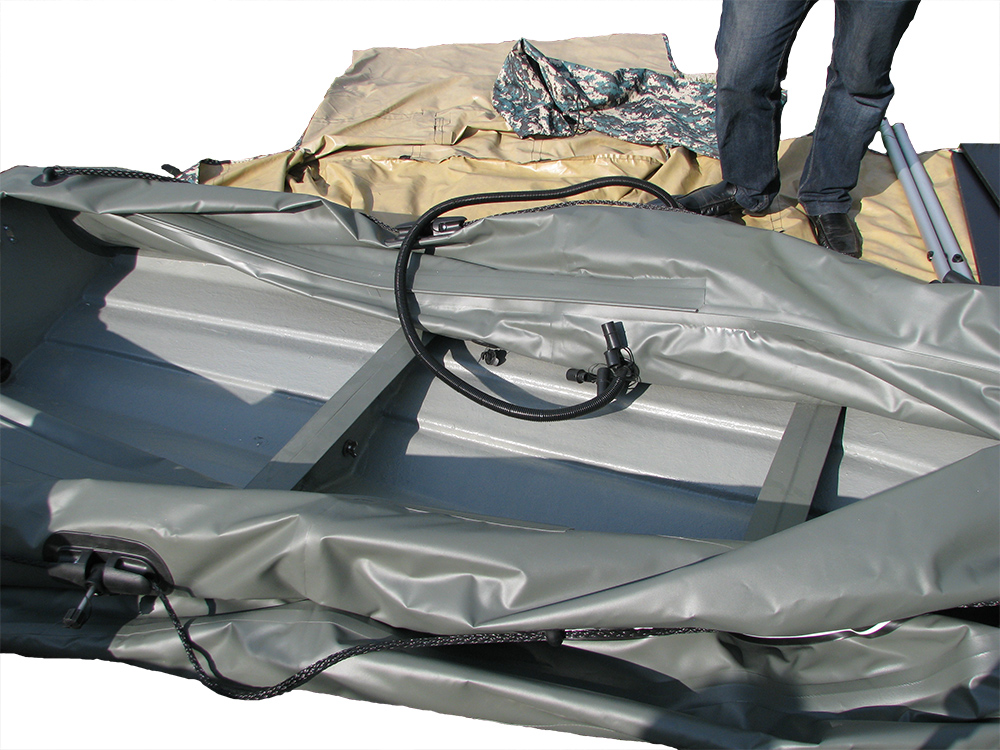
Lay out foldable RIB as on photos 1-4.
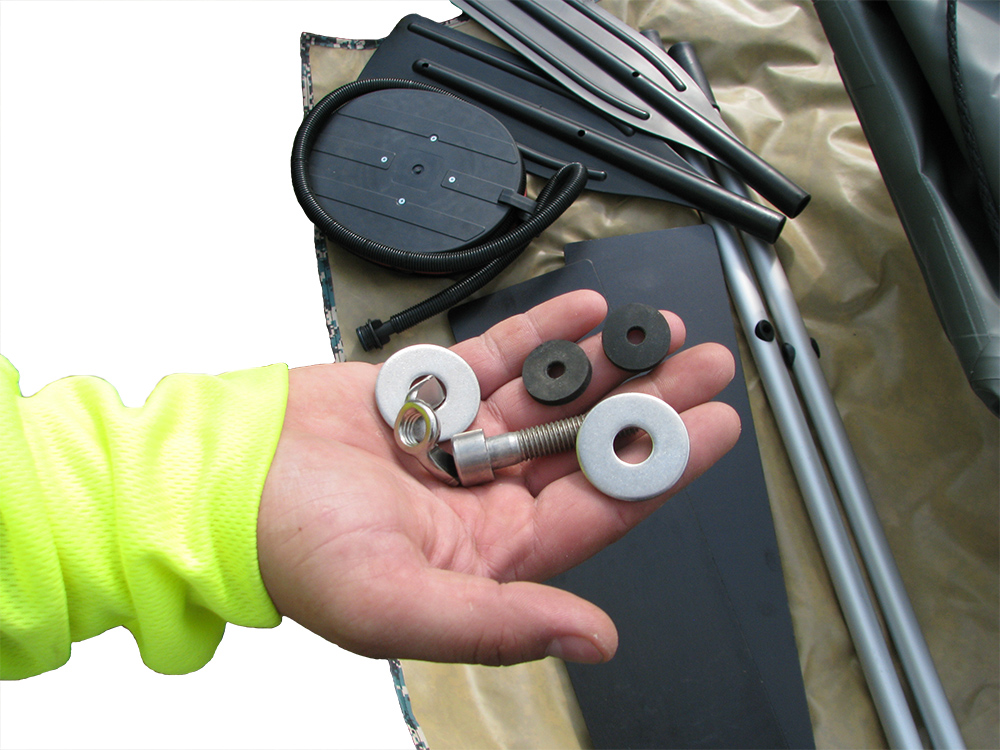
The set includes pump, oars, wooden seats, repair kit (adhesive, hardener, PVC patch), hex key, bolts and screw-nuts for bottom fixation (photos 5,6)
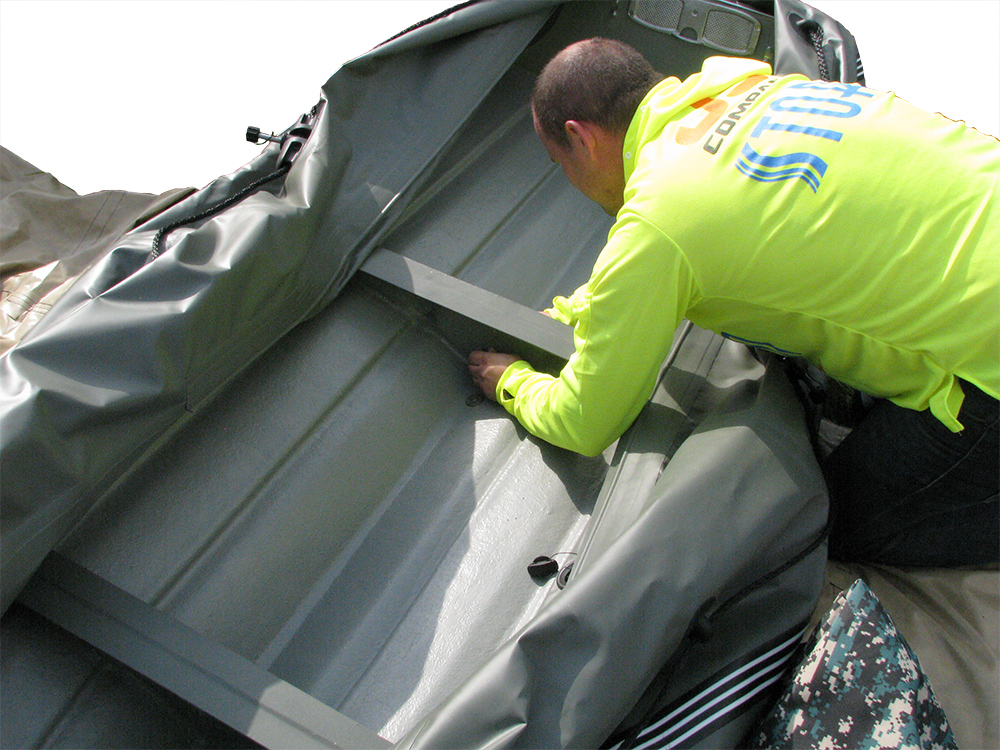
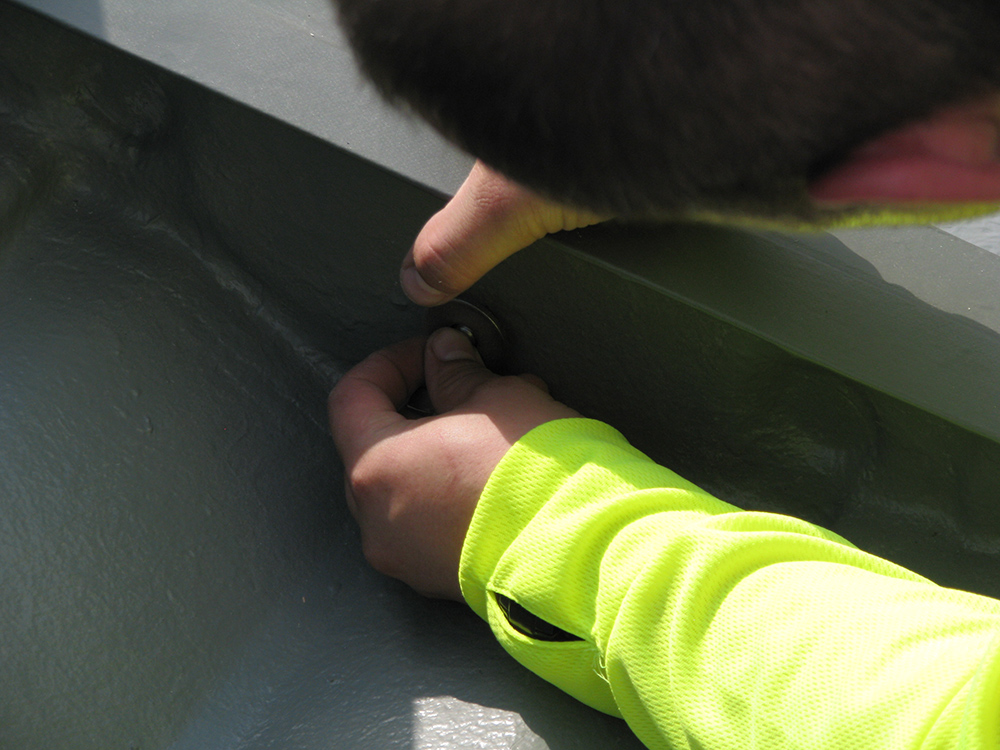
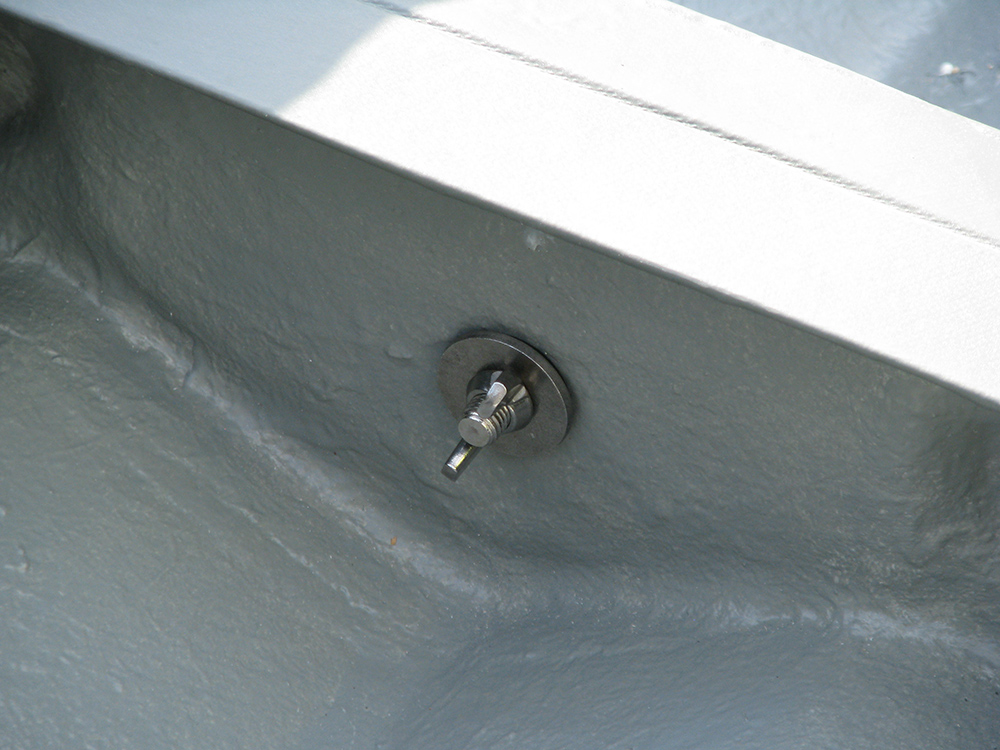
With the help of hex key tighten bottom joints (photos 7-10)

Inflate the boat (photo 11)
Set the seats and the oars (photo 12)
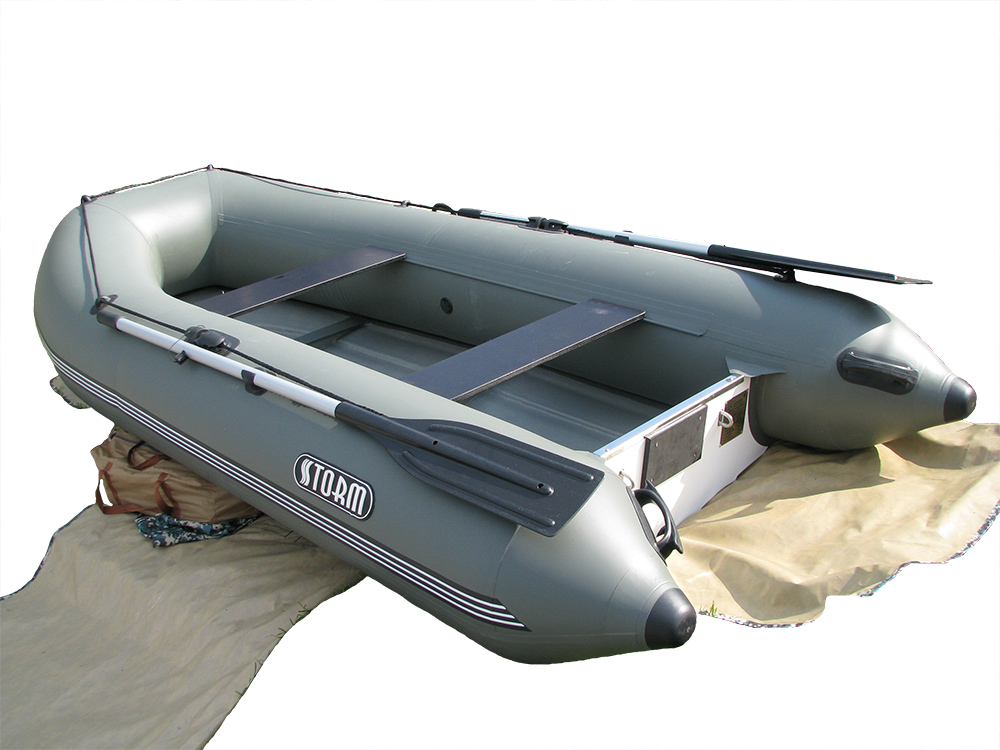
RIB is ready for usage!
To disassemble the RIB do the same in the reverse order.
To find out more details about RIB Amigo 315F click here.